
How do you eat seasonably in the winter?
You store the produce when it is ripe. Today's lesson: cooking pumpkins!
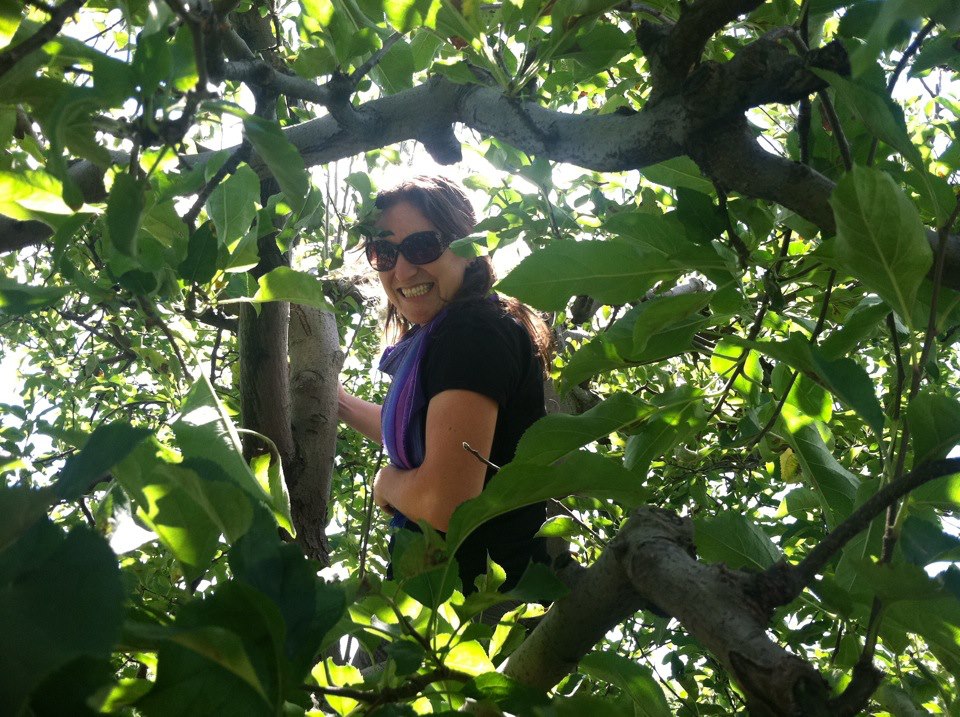
Last weekend I spend a glorious Sunday with three friends picking apples at Green Truck Farms in Markham Virginia. Four girls, one zip car, an iPod full of tunes and before we knew it, we were taking in the glorious weather amongst the apple trees. I had never used the picking tool that we were provided, but it did make it easier to reach the fruit! But... I also had to climb the trees too (of course!)
 The farm was not limited to apples - throughout the season they have blackberries and raspberries and the owner told me that they just planted 18,000 (eighteen thousand!) strawberry plants which will be producing fruit this spring. They also had a HUGE pumpkin patch with all sorts of pumpkins and other winter squash. I was originally scouting the field for a pumpkin to carve until I realized just how many different kinds of squash they had...and then my thoughts wandered to the kitchen.
I met Brian, the farmer, and he was able to help me distinguish between the carving pumpkins (edible, but not tasty) and the different "food" pumpkins - pie pumpkins are the little baby pumpkins, the reddish, disk shaped ones in the back are called Cinderella pumpkins and the bluish one is called a jarrahdale. All are winter squash, meaning their skin is tough and they will store well, as is, for several months. This is in comparison to summer squash, like zucchini and yellow squash which spoil quickly.
 As pretty as they are to look at on my table, I am thinking with my stomach and can't wait to try eating them. I tried three different ways to cook the pie pumpkins and have them documented to share with you.
I was curious just how many pounds of pumpkin I had purchased (when my friend dropped me off, she looked in the trunk and gasped.."tell me those are not all your pumpkins!"...um, yes?) but when I plopped the small pumpkins on my bathroom scale they didn't register. So, I used the trick that comes in handy when you're trying to weigh a wiggly toddler - I weighed myself, weighed myself holding the pumpkin and subtracted the difference.
For any of these cooking methods, the start is the same. Wash off any dirt with water (no soap needed). Using a serrated knife, hack the pumpkin in half using a sawing motion. This is a good workout for arms, and a good stress reliever if you pretend the pumpkin is that person's head. You know who.
Using a heavy ice-cream scoop or a spoon, scoop out the seeds and guts until the cavity of the pumpkin is smooth. The seeds can be saved for roasting (healthy snacks!) or if the pumpkin is an heirloom variety, they can be saved for planting next year.

Method 1: the microwave
I cut the pumpkin into small wedges and tucked them into a large, glass, microwave-safe casserole dish with a lid. This felt like tetris getting all the pieces to fit. (If you don't have a casserole, try a large microwave safe bowl with a plate on top; should work just as well. But, keep your eyes peeled at the thrift store or garage sales for your own casserole dish). I added 1-2 cups of water and microwaved (with lid on) for about 20 minutes or until the pumpkin was very soft when poked with a fork. I checked the pumpkin after 10 minutes and added on 5 minutes at a time until it was soft. Let cool until you're able to handle.

Method 2: the slow cooker
Take your pumpkin wedges and arrange in the slow cooker so that you can get the lid on. Add 2 cups of water, or enough to have about 1/2 of an inch of water in the bottom. Cover, and cook on low for 4-8 hours, or high 2-4 hours or until very soft. Every slow cooker is different, and it will depend on how thick the pumpkin flesh is and how big the wedges are. Poke with a fork - when very soft, they're done; spread out on a plate to cool.

Method 3: roasting in the oven.
Take large wedges and slice into smaller, more manageable slices. Using a very sharp chefs knife, cut the peel off the outside edge of each piece of pumpkin (you can also do this after the pumpkin is cooked - your choice!). Place on oiled cookie sheet and roast until soft. I added some salt and pepper to the roasted pumpkin (not to the slow cooker or the microwave). Your oven can be anywhere from 350-450. When are they done? You have three clues:
My wedges that were about 1 inch wide took about 35 minutes in a 400 degree oven.You store the produce when it is ripe. Today's lesson: cooking pumpkins!
Last weekend I spend a glorious Sunday with three friends picking apples at Green Truck Farms in Markham Virginia. Four girls, one zip car, an iPod full of tunes and before we knew it, we were taking in the glorious weather amongst the apple trees. I had never used the picking tool that we were provided, but it did make it easier to reach the fruit! But... I also had to climb the trees too (of course!)
I met Brian, the farmer, and he was able to help me distinguish between the carving pumpkins (edible, but not tasty) and the different "food" pumpkins - pie pumpkins are the little baby pumpkins, the reddish, disk shaped ones in the back are called Cinderella pumpkins and the bluish one is called a jarrahdale. All are winter squash, meaning their skin is tough and they will store well, as is, for several months. This is in comparison to summer squash, like zucchini and yellow squash which spoil quickly.

I was curious just how many pounds of pumpkin I had purchased (when my friend dropped me off, she looked in the trunk and gasped.."tell me those are not all your pumpkins!"...um, yes?) but when I plopped the small pumpkins on my bathroom scale they didn't register. So, I used the trick that comes in handy when you're trying to weigh a wiggly toddler - I weighed myself, weighed myself holding the pumpkin and subtracted the difference.
For any of these cooking methods, the start is the same. Wash off any dirt with water (no soap needed). Using a serrated knife, hack the pumpkin in half using a sawing motion. This is a good workout for arms, and a good stress reliever if you pretend the pumpkin is that person's head. You know who.
Using a heavy ice-cream scoop or a spoon, scoop out the seeds and guts until the cavity of the pumpkin is smooth. The seeds can be saved for roasting (healthy snacks!) or if the pumpkin is an heirloom variety, they can be saved for planting next year.

Method 1: the microwave
I cut the pumpkin into small wedges and tucked them into a large, glass, microwave-safe casserole dish with a lid. This felt like tetris getting all the pieces to fit. (If you don't have a casserole, try a large microwave safe bowl with a plate on top; should work just as well. But, keep your eyes peeled at the thrift store or garage sales for your own casserole dish). I added 1-2 cups of water and microwaved (with lid on) for about 20 minutes or until the pumpkin was very soft when poked with a fork. I checked the pumpkin after 10 minutes and added on 5 minutes at a time until it was soft. Let cool until you're able to handle.

Method 2: the slow cooker
Take your pumpkin wedges and arrange in the slow cooker so that you can get the lid on. Add 2 cups of water, or enough to have about 1/2 of an inch of water in the bottom. Cover, and cook on low for 4-8 hours, or high 2-4 hours or until very soft. Every slow cooker is different, and it will depend on how thick the pumpkin flesh is and how big the wedges are. Poke with a fork - when very soft, they're done; spread out on a plate to cool.

Method 3: roasting in the oven.
Take large wedges and slice into smaller, more manageable slices. Using a very sharp chefs knife, cut the peel off the outside edge of each piece of pumpkin (you can also do this after the pumpkin is cooked - your choice!). Place on oiled cookie sheet and roast until soft. I added some salt and pepper to the roasted pumpkin (not to the slow cooker or the microwave). Your oven can be anywhere from 350-450. When are they done? You have three clues:
- texture: the pumpkin is very soft when poked with a fork
- smell: your nose will tell you something magical is happening in the oven
- sight: the edges will brown a bit

 |
| Roasted! I tried peeling when raw and roasted and prefer cutting the raw pieces. |
So you have some cooked pumpkin..now what?
I pureed my pumpkin so that I can use it instead of canned pumpkin. I used a soup spoon to scoop the pumpkin flesh into a large bowl and then tried a potato masher and an immersion blender. If the pumpkin is really soft, the potato masher works just as well. If the pumpkin is a bit or firm, or is a bit stringy, the immersion blender works better. If you have a food processor or regular blender, those are good choices too. When the pumpkin is smooth, it is ready to be used in recipes or can be frozen for future use. I portioned 1-cup of puree into labeled zip top plastic bags. Expel any air, seal and stack. They take up minimal space in your freezer.
Another option? Baby food: freeze in an ice-cube tray and you have baby-sizes portions to thaw out for your little one.

 Was cooking pumpkin three different ways super fast? No, but I enjoyed it. I was listening to the new Mumford and Sons album, hanging out with my roommate and thinking about my weekend on the farm. I'd spend my time in the kitchen instead of in front of the TV any day. Just think: if we cancelled our cable, used that money to buy vegetables and spent the spare time cooking, how much healthier would we be?
Reader question: Do you have any ideas of how to store pumpkin puree without making more trash? I don't love using plastic bags, but these take up the least amount of space.
Like what you're reading? Feel free to share this article on facebook and twitter using the buttons below.
You can also like me on facebook and follow my twitter feed:

I pureed my pumpkin so that I can use it instead of canned pumpkin. I used a soup spoon to scoop the pumpkin flesh into a large bowl and then tried a potato masher and an immersion blender. If the pumpkin is really soft, the potato masher works just as well. If the pumpkin is a bit or firm, or is a bit stringy, the immersion blender works better. If you have a food processor or regular blender, those are good choices too. When the pumpkin is smooth, it is ready to be used in recipes or can be frozen for future use. I portioned 1-cup of puree into labeled zip top plastic bags. Expel any air, seal and stack. They take up minimal space in your freezer.
Another option? Baby food: freeze in an ice-cube tray and you have baby-sizes portions to thaw out for your little one.


Reader question: Do you have any ideas of how to store pumpkin puree without making more trash? I don't love using plastic bags, but these take up the least amount of space.
Like what you're reading? Feel free to share this article on facebook and twitter using the buttons below.
You can also like me on facebook and follow my twitter feed:
facebook.com/hollylarsonmsrd
@HollyLarsonRD
Thank you for visiting my blog!
I like to use take out containers (the quart size that soup comes in when you get Chinese food) to store things in the freezer. They seem to be a good size, are re-used from the take out adventure, and they stack well in the freezer and fit in the door. Perfect!
ReplyDelete