Steel cut oats do take longer to cook - about 20 minutes - but they hold up really well to being refrigerated and reheated. Make this over the weekend when you can nail down 30 minutes in the kitchen and then you have breakfast for the week!
Most fruits are no longer in season - pears and apples are, but berry season has long past and they took peaches with them. This is a good time to take advantage of frozen fruit - freeze your own when it is in season (and way less expensive) or purchase fruit without any added sugar.
Shopping tip: Having trouble finding steel cut oats? They may not be next to the flavored packets of instant oats - look in the organic or natural foods section of your grocery store or check out the bulk bins of the natural foods store.
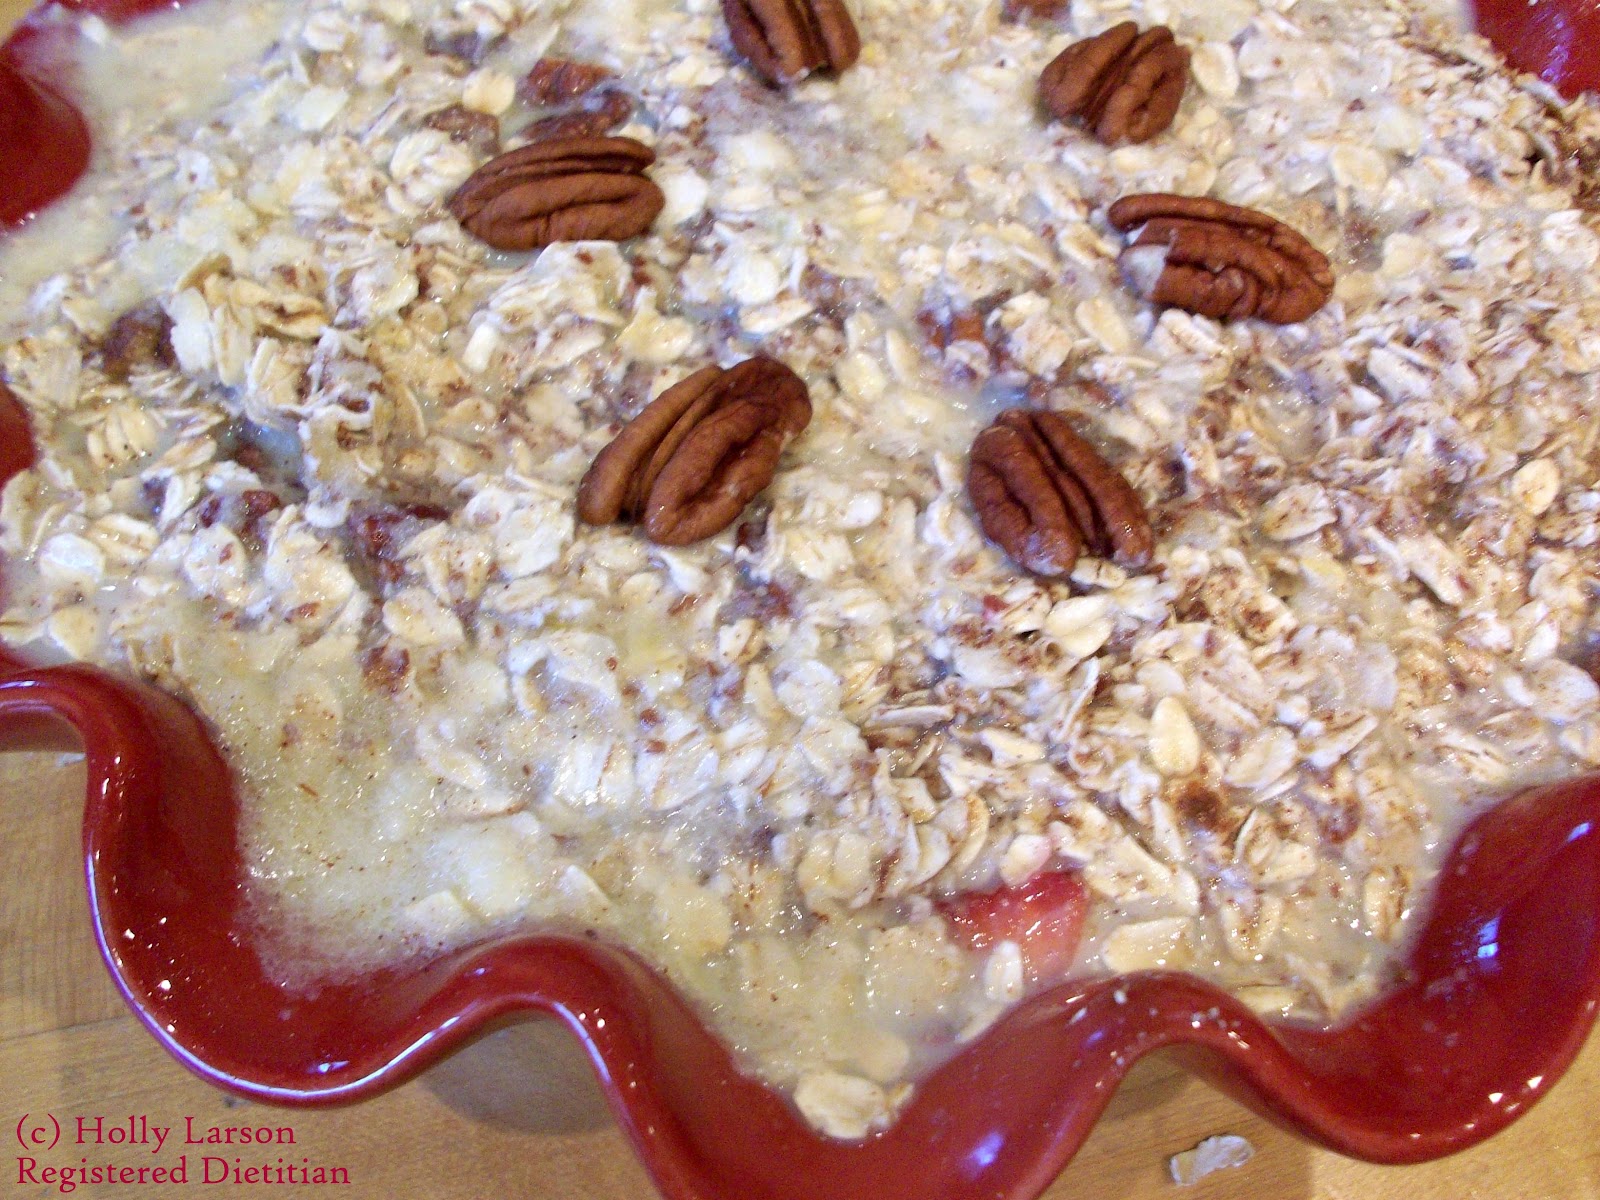
Steel cut oats with berries and cinnamon
Makes four generous servings
- 1 apple, diced (keep the peel; more fiber and less fuss)
- 1 tablespoon butter
- 1 teaspoon cinnamon
- 1/4 cup brown sugar
- 1/2 cup frozen diced peaches
- 1/2 cup frozen mixed berries
- 1 cup steel cut oats
- pinch of salt
- 2 cups plain soy milk
- 1 cup water
- Nuts and dried fruit for topping
- In a medium saucepan, melt butter and add apple and brown sugar. Stirring often to prevent burning, cook for a few minutes. Add frozen fruit and cook for a minute longer.
- Add oats, cinnamon, salt, soy milk and water. Cover, and bring to a boil.
- Reduce heat to a simmer and cook, covered, for 20 minutes. Stir occasionally.
- After 20 minutes is up, remove from heat and allow to cool for ten minutes or so. You can add more water or soy milk if you want the oats to be thinner.
- For breakfast ease, scoop individual portions into glass jars and garnish with a few nuts. Refridgerate until ready to eat; microwave for a minute or three and you're ready to roll! Bring on the day :)


Like what you're reading? Feel free to share this article on facebook and twitter using the buttons below. You can also like me on facebook and follow my twitter feed:
facebook.com/hollylarsonmsrd
@HollyLarsonRD
Thank you for visiting my blog!